Discover the secrets of home recording instruments without breaking the bank. This article provides a comprehensive guide, covering the essentials and tips to enhance your techniques.
Building your own home studio is easier than you think. Learn how to choose the perfect room and acquire the necessary gear without overspending. We’ll help you start right and avoid unnecessary investments. Attention to detail matters in home recording. Explore how even the smallest aspects can greatly impact the quality of your tracks. Additionally, we provide step-by-step instructions for recording common instruments found in today’s songs. Electric and acoustic guitars are popular instruments in many genres. Find out how to capture their unique sounds effectively. We also delve into recording keyboards, discussing different options available to you.
Recording drum tracks can be daunting, but we’ve got you covered. Learn the easiest methods for recording drums, including a basic guide for tackling acoustic drums. Don’t let the complexity intimidate you – we simplify the process. Luckily, technology offers musicians a wide array of recording options. With a touch of creativity, skill, and thinking outside the box, you can achieve outstanding results. Embrace the freedom and possibilities of modern recording.
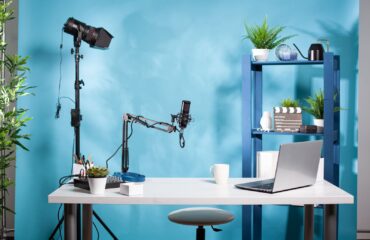
Establishing Your Foundation
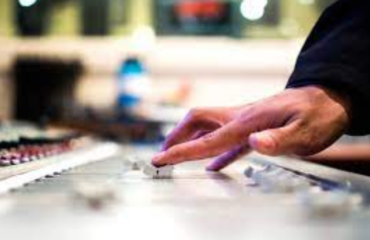
The key to a successful home recording studio lies in the initial setup. This chapter focuses on creating a solid foundation, starting with the crucial decision of selecting the right room. While some may underestimate its importance, assuming any room will suffice, the truth is that a well-designed space can make or break your recording sessions.
Don’t overlook this vital detail. Discover why a carefully chosen room can contribute to seamless recording experiences, while neglecting it may lead to frustrating obstacles. Avoid unnecessary frustration by planning ahead and prioritizing the setup of your recording environment.
Selecting the Perfect Room: Factors to Consider
When choosing a room for your home recording studio, consider these important factors to ensure an optimal setup.
- Size matters: Opt for a spacious room that can accommodate multiple musicians and your equipment without feeling cramped. Ample space allows for a smoother recording experience and better organization;
- Personal preference: Some may prefer the cozy intimacy of a smaller room, while others require more room to breathe. Consider your comfort level and the atmosphere you desire for your creative process;
- Noise control: Pay attention to environmental noise that can disrupt your recordings. Choose a room with minimal interference, such as distant traffic, bird sounds, or neighbors. Prioritize sound isolation and consider smaller windows if necessary;
- Considerate noise levels: While you focus on minimizing external noise, be aware that recording instruments can generate noise for others in your living space. Select a room where you can make noise freely without disturbing others;
- Soundproofing: If your home lacks a dedicated noise-isolated area, consider implementing some soundproofing measures to minimize sound leakage and create a more conducive recording environment;
- Flooring considerations: Flooring plays a role in recording quality. Avoid carpeted floors that absorb high frequencies while neglecting the low ones. Opt for hardwood, tile, or concrete flooring for better acoustics. If needed, use an area rug for specific instruments like drum kits;
- Improving acoustics: Most average rooms have low ceilings and parallel walls made of drywall, which may not be ideal for acoustics. If you’re fortunate to have a room with natural acoustics, utilize it. Otherwise, explore ways to enhance sound quality by incorporating acoustic treatments.
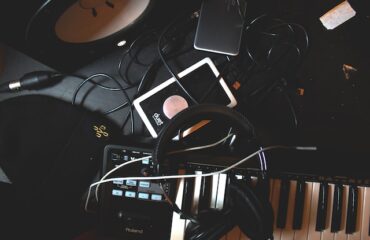
Essential Studio Gear: Building Your Arsenal
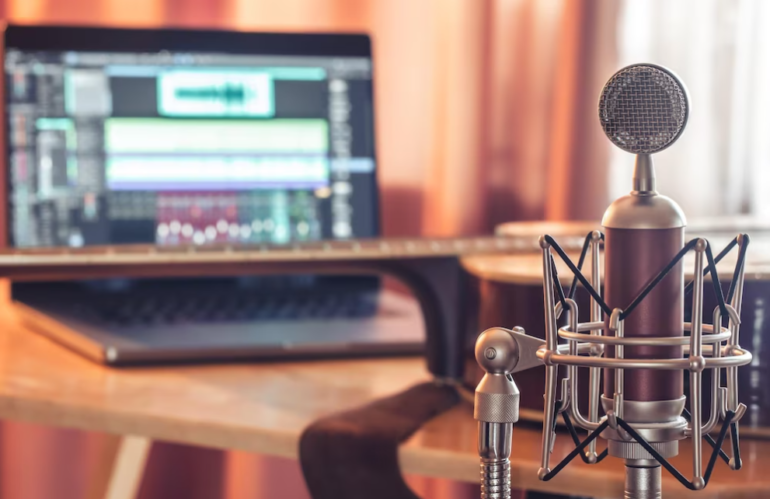
Setting up a home recording studio doesn’t require expensive gear. With the basics and some know-how, you can get started. Here are the essential items that every studio needs:
- Computer: You don’t need the latest and most expensive model, especially if you’re on a budget. A middle-of-the-road computer with enough power to handle your work will suffice. If you already have a computer, work with it as long as it meets the necessary requirements. However, avoid compromising the quality of your output by using outdated or inadequate hardware;
- Digital Audio Workstation (DAW): Choose a DAW of your preference. This software is essential for recording, using virtual instruments (VI), and mixing audio. Select a DAW that suits your workflow and provides the features you require;
- Audio Interface: If you plan to record real instruments, an audio interface is a must-have. This device enables you to capture audio from various sources, including instruments and microphones. It also provides quality outputs for your studio monitors. While you can temporarily use your computer’s headphone output, investing in a dedicated audio interface is recommended for optimal recording quality;
- Headphones and Studio Monitors: Accurate monitoring is crucial for recording and mixing. Studio monitors offer a flat frequency response, allowing you to hear audio with precise detail. Avoid using consumer-grade speakers for mixing, as they can mislead you with exaggerated bass or other frequency imbalances. Invest in quality studio headphones for tracking and consider purchasing studio monitors for accurate mixing;
- Microphones: If you’re recording vocals and instruments, you’ll likely need multiple microphones. Ensure that vocal tracks aren’t overpowered by instruments for balanced audio. Budget-friendly microphones can deliver good quality recordings, but consider your recording environment to avoid any potential limitations. Explore instrument-specific microphones, which will be covered in subsequent chapters;
- Bonus Tip: When mixing, it’s helpful to use reference tracks as a point of comparison. These tracks allow you to assess how professional recordings sound on your current system and provide a clearer idea of what adjustments you need to make.
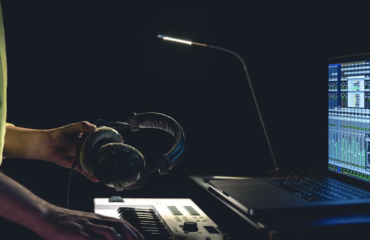
The Magic of Recording Instruments Unraveled
When it comes to recording instruments, capturing drums and vocals accurately can pose a challenge, as even subtle nuances can affect the outcome. However, instruments like brass, guitars, keyboard, and bass are relatively easier to record with the right equipment and technique.
Before diving into the details, let’s go over some fundamental points:
- When recording instruments, prioritize capturing a clean signal for your song. If you plan to add distortion, do it during the mixing/editing stage. Recording a distorted track makes it difficult to undo the effect during mixing, potentially overwhelming the song with excessive noise. To be safe, always start with a clean signal;
- Listen attentively to the instrument you’re about to record. Assess if it produces the desired sound for your song. Address any issues at the source before recording, rather than relying on post-production fixes. Strive to capture the great sound already present, as replicating it in post-production can be challenging. Though you may not achieve the exact timbre, your efforts can yield a sound close to your ideal;
- Communicate with other musicians if you’re collaborating. Recording songs is a team effort, so engage in discussions with the artists you’re working with. If you’re not getting the desired sound, record a snippet and play it back for their input. Their suggestions may spark ideas you hadn’t considered, such as using a different pick or tweaking certain elements to create something unique. Collaboration can yield unexpected and exciting results;
- Maximize the potential of your recording space. Identify areas with better acoustics and adjust your setup accordingly, even if it means rearranging your current configuration. Simple changes like removing carpets or adding strategically placed bed quilts can enhance the acoustic sounds. These cost-effective adjustments should not be overlooked, as they can significantly improve the overall sound quality;
- Always check the tuning of your instruments. Taking a minute between each take to ensure proper tuning can save you hours of corrective editing later. Don’t hesitate to make adjustments to your microphone setup. Complacency with your initial mic placements and choices may not yield the desired results. Experiment with different placements and microphones to find the best sound. Compare and evaluate the recordings produced by various arrangements;
- Never underestimate the power of comparisons. Avoid complacency by listening to the instruments acoustically in the studio and comparing them to the monitored signal. Although it may be a meticulous process, this practice sharpens your skills and ears effectively. Approach the listening process critically, taking note of any small errors that require improvement. Use marker points in your DAW to ensure you address each issue;
- Compare old takes with new ones. Experts recommend taking multiple takes and selecting the best parts from each to create a master take. To save time, always listen back to older takes and compare them to new recordings. This exercise fosters self-criticism and motivates musicians to enhance their performance by identifying areas for improvement or refinement.
A Guide to Recording Acoustic and Electric Guitars
A straightforward approach to recording electric guitars is to use a reliable microphone specifically designed for this purpose. Simply position the microphone against your guitar cabinet and hit the record button. It may sound deceptively easy, but there are additional techniques you can employ to enhance the results.
For those who want to take it a step further, you can experiment with the following methods:
| Techniques | Description |
|---|---|
| Combining Amplifiers | Simultaneously use multiple amplifiers to achieve a desired tone and texture. Experiment with different combinations to find the ideal sound. |
| Combining Microphones | Utilize different microphones to capture various sonic characteristics. Blend the recordings together to create a rich and layered sound. |
| Varying Microphone Placement | Explore different positions for microphone placement to find the “sweet spot” that captures the ideal sound. Move the microphone closer or farther from the sound source and experiment with different angles and distances to achieve the desired sonic result. |
| Applying Personal Mixing Techniques | Use your own style and mixing skills to create a unique sound by combining the recorded tracks. Experiment with panning, equalization, compression, reverb, and other effects to enhance the overall sound and create a professional mix. |
However, if you have limited equipment and a basic home studio setup, these options may not be readily available to you. Nevertheless, there are creative approaches you can adopt to produce high-quality sounds from your instruments. Consider the following alternatives:
- Using a Direct Box: Convert the high-impedance guitar signal into a low-impedance microphone signal and record it as a dry track in your digital audio workstation (DAW). You can then apply amp simulations or virtual guitar rigs to add effects to the track.
This method is quieter, cost-effective, and space-efficient compared to traditional guitar recording techniques. Additionally, it provides you with various options for experimentation.
- Mic + Guitar Cabinet: While specialized microphones designed for guitar cabinets exist, you can also achieve good results with efficient ribbon or dynamic microphones.
The key factor here, apart from microphone choice, is the positioning. Initially, place the microphone against the cabinet, facing the speaker cone.
Use this as a starting point and make minor adjustments to the angle and distance until you’re satisfied with the sound. You can try minimizing phase cancellation by positioning the microphone at an angle that avoids reflecting walls, using a riser to eliminate acoustic coupling with the floor, or exploring different locations to adjust the ambience.
These techniques may appear simple, but with some creativity and thinking outside the box, you can achieve great sound without spending excessive amounts of money.
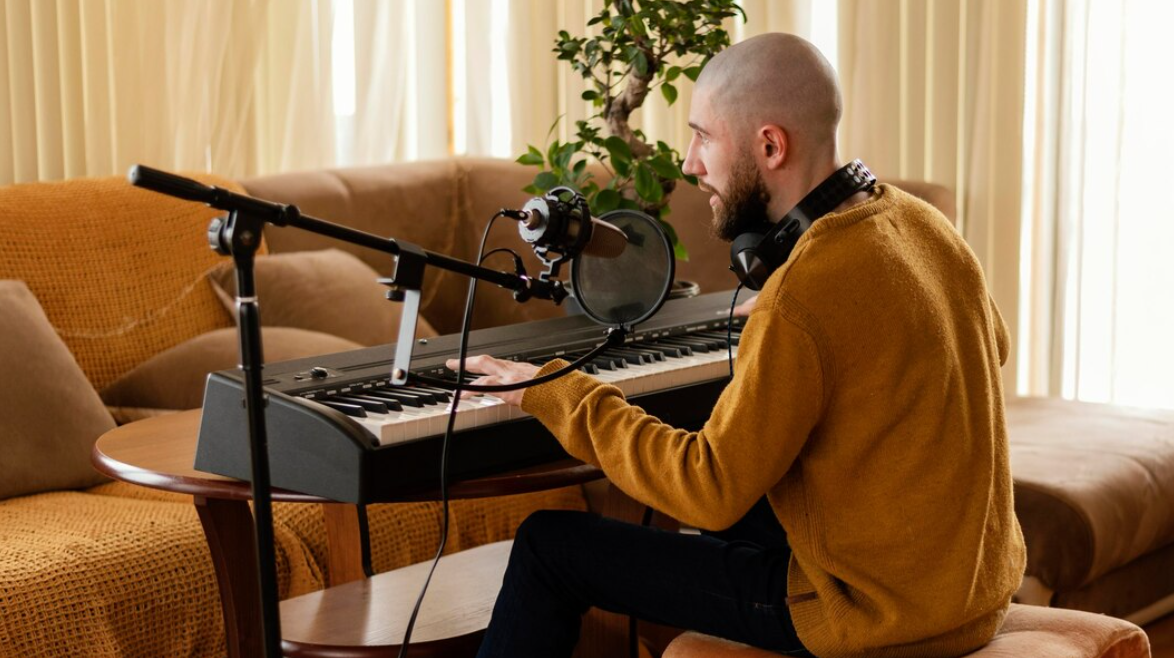
Unlocking the Techniques for Recording Keyboards
Recording keyboards offers a unique advantage as they are digital instruments, making the recording process much simpler compared to those requiring microphones. Here are two common methods:
- Stereo DI Recording: To maintain the integrity of your keyboard’s analog outputs, direct recording is ideal. However, keyboards often produce high line-level outputs that can cause clipping if recorded using a standard mic and preamp channel. In such cases, running the output through a direct box, similar to electric guitars, is the next best option. Note that a stereo DI is necessary due to the keyboard’s stereo outputs;
- Virtual Keyboard: If you occasionally use keyboards and seek convenience without compromising sound quality, consider using a virtual instrument in combination with a MIDI controller. This solution is more affordable than a digital piano and offers editing features to refine takes or adjust tones during mixing. It’s also useful for those who are not proficient in playing keys and want to achieve desired results without relying on a skilled musician.
Tips for Recording Excellent Keyboard Tracks:
- Timing: Recording differs from live performances, as the nuances of your playing become more noticeable. Pay close attention to the timing and release of each note, ensuring it aligns well with the other instruments and elements in the composition. Practice starting and ending your parts precisely to maintain coherence and avoid sloppy sustained notes. Experiment with different techniques and approaches to achieve clean releases before recording;
- Tuning: If recording an acoustic piano, professional tuning before the recording date is essential. For vintage analog synths or digital keyboards, carefully adjust the dials to ensure they are in tune with the song before laying down segments. Virtual keyboards eliminate this concern as they maintain consistent tuning.
Elevate Your Drum Recording Skills
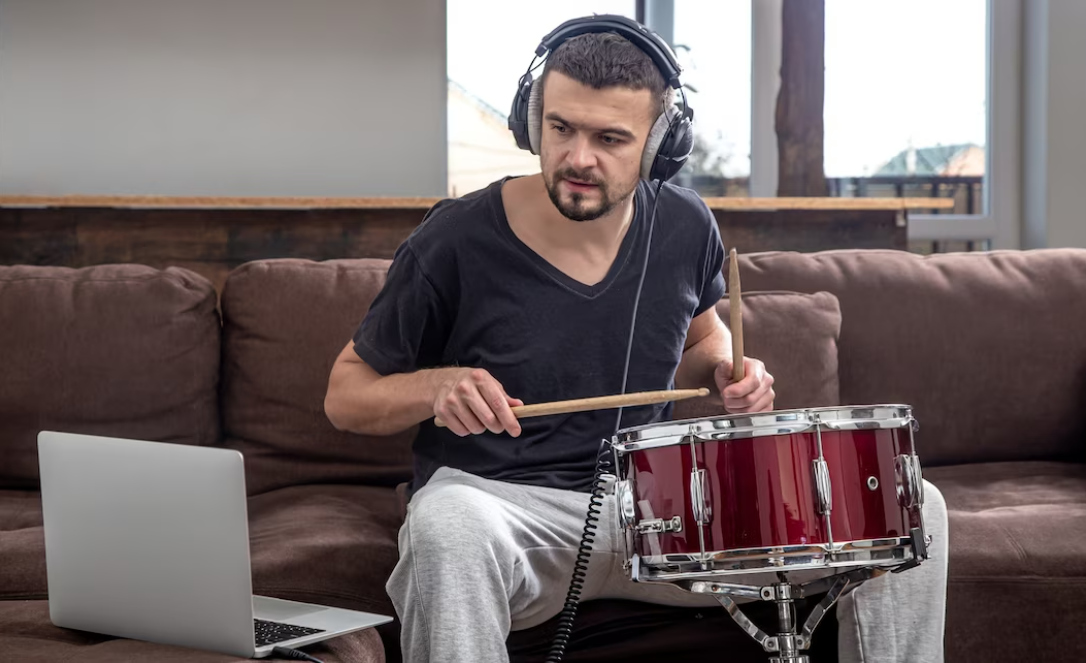
Recording drums in a home studio can be challenging due to the equipment, space, and isolation requirements. Here are various approaches to simplify the process without compromising sound quality or breaking the bank.
- Virtual Drums: Virtual instruments are a lifesaver for home recording studios. These samples, often recorded in professional studios with session drummers, produce realistic drum tracks that are difficult to distinguish from the real thing. Virtual drums are not only easier to record but can also yield excellent results, especially if you’re not proficient in playing the kit or have budget constraints.
- Electronic Drum Kits: For a more sophisticated option, consider electronic drum kits. These kits offer the ability to play the instrument with added benefits:
Discreet playing without disturbing neighbors.
Wide range of affordable options available.
High-quality electronic kits can sound as good as acoustic drums.
Some models enable individual drum recording, similar to acoustic drums.
Acoustic Drums: If you’re up for the challenge and expense of recording acoustic drums, here’s a simplified guide to what you’ll need and how to use each tool:
Microphones:
- Condenser mics for cymbals.
- Dynamic mics for drums.
Positioning:
- Place mics along the rim of individual drums, angled downward and close to the drumhead to minimize sound bleeding;
- Use two mics for kick drums—one in the front for click and one in the back for low-end thump;
- Employ a pair of mics (top and bottom) for snare drums to capture the rattle and crack;
- Each tom can have a dedicated mic or be recorded with stereo room mics;
- Cymbals can be recorded using the same method as toms, ensuring each hi-hat and ride has its own mic.
Essential Tips for Recording Instruments
If you’re new to recording instruments, it’s natural to feel a bit overwhelmed or nervous about the process. In this chapter, we will delve into the finer details that can significantly impact the success of your recording sessions and help you achieve a smoother experience.
Ensure Reliable Connections and Optimize Sound Quality
Before hitting the record button, take a moment to double-check your cables, strings, and overall setup. Make sure everything is in its proper place and fully functional. Pay attention to any crackling noises or hums that may arise.
While it’s possible to reduce noise using plugins during post-production, starting with high-quality signals will yield better overall sound. Additionally, when using strings, ensure they sound vibrant and not dull. Keep in mind that new strings can sound excessively bright initially, so test your instruments beforehand to find the sound you prefer.
Pro tip: Always have spare strings and cables on hand for emergencies.
Define Your Desired Sound in Advance
While experimentation can be enjoyable, it can also consume a significant amount of time. If you’re ready to start recording, chances are you’ve already progressed beyond the stage of exploring different sounds. You likely have a specific vision for your instruments. However, if you’re unsure, take a moment to pause and play around with your instruments to discover sounds that resonate with you.
Remember, your desired sound evolves as you practice, so avoid rushing the process and take your time with this crucial aspect.
Embrace Both Virtual and Real Instruments
Exploring the sounds of virtual and real instruments can enhance your familiarity with each type and help you determine how to integrate them into your tracks. Don’t hesitate to experiment and mix different instrument types to create fresh and unique sounds.
Feel free to apply effects and shape the sound to suit your personal taste and musical style.
Experiment with Different Setups and Microphones
The choice of microphone and its placement can significantly impact the resulting sound. Prior to recording, it’s beneficial to try various setups and microphone arrangements to understand the range of sounds you can achieve. The possibilities are vast!
Remember, you can borrow or even rent equipment if needed. While working with what you have can be enjoyable, don’t limit yourself to only those resources. Explore alternative options to expand your creative potential.
Conclusion
One of the fantastic aspects of recording instruments at home is the freedom it offers without the constraints of limited time. You have the liberty to work at your own pace and indulge in playful experimentation. Don’t be afraid to explore and try new things. Through this process, you will gradually discover what techniques and approaches resonate with you and what doesn’t. Enjoy the journey of self-discovery and find your unique artistic path.